Hey there, kitchen renovators! Are you ready to dive into the world of countertops? As a seasoned countertop installer, I’ve seen it all – from the “I love every granite slab I see” clients to the “I have no idea where to start” ones. Buckle up as I guide you through the countertop buying process, sprinkling in some trade secrets to make your journey smooth and efficient. Let’s rock and roll (or should I say, ‘stone and scroll’)!
Step 1: Choosing the Perfect Countertop
First things first – picking your countertop. Granite, quartz, marble, oh my! Each material has its charm and quirks. Granite brings the ‘wow’ with its natural patterns, quartz offers consistency, and marble? Well, it’s the diva of countertops. Take your kitchen’s style, your lifestyle, and your budget into account. Love baking? Marble’s cool surface is your friend. Have a bustling, spill-prone family kitchen? Hello, quartz!
Tip: Bring home samples. Seeing them in your kitchen’s light makes a world of difference!
Step 2: Deciding on the Color
Color time! This is where your kitchen’s personality shines. Will you go bold with a dramatic Ubatuba black or keep it classic with a soothing White River? Think about your cabinets, floors, and walls. Remember, your countertop is a kitchen centerpiece; it should play well with others.
Trade Secret: Contrast is key. Light cabinets? Consider a darker countertop. It’s like pairing a good wine with a great meal – they enhance each other.

Step 3: Measuring Up
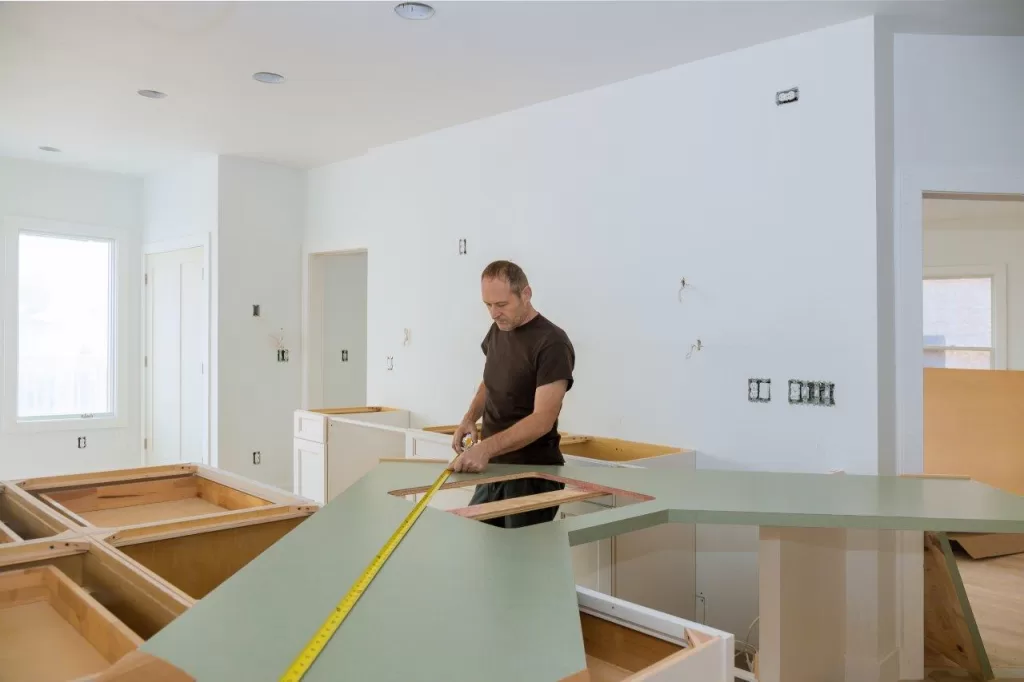
Now, let’s talk measurements. Precision is crucial. An inch off can turn your countertop dream into a kitchen nightmare. Measure the length and width of your cabinets, and don’t forget areas like islands or peninsulas.
Tip: Always measure twice; you can’t un-cut granite!
Step 4: Calculating Material Needs
Calculating how much material you need is a mix of art and science. Consider overhangs and backsplashes. And here’s where things get spicy – seam placement. You want them discreet and strategically placed.
Trade Secret: In larger kitchens, go for fewer seams. It’s like hiding the strings in a magic trick; it’s there, but nobody needs to know.
Step 5: Logistical Details
Ah, logistics – the not-so-glamorous but super important part. How far is your home from the workshop? The journey of your countertop from the warehouse to your kitchen impacts the cost. And don’t forget the height! Standard countertops are about 36 inches tall, but let’s make it work for you. Are you tall and tired of stooping? We can fix that!
Tip: Clear the path for the installation crew. Make it as obstacle-free as possible – it’s like setting up a welcome mat for your new countertop.
Step 6: Edge Decisions
Edges – they’re not just about looks; they’re about feel and safety too. From the classic beveled edge to the fancy ogee, each has its character. Got little ones running around? Consider a rounded edge to avoid ouchies.
Trade Secret: Choose an edge that complements your kitchen’s style. It’s like choosing the right hat for an outfit – it can make or break the look.

Step 7: Fabrication
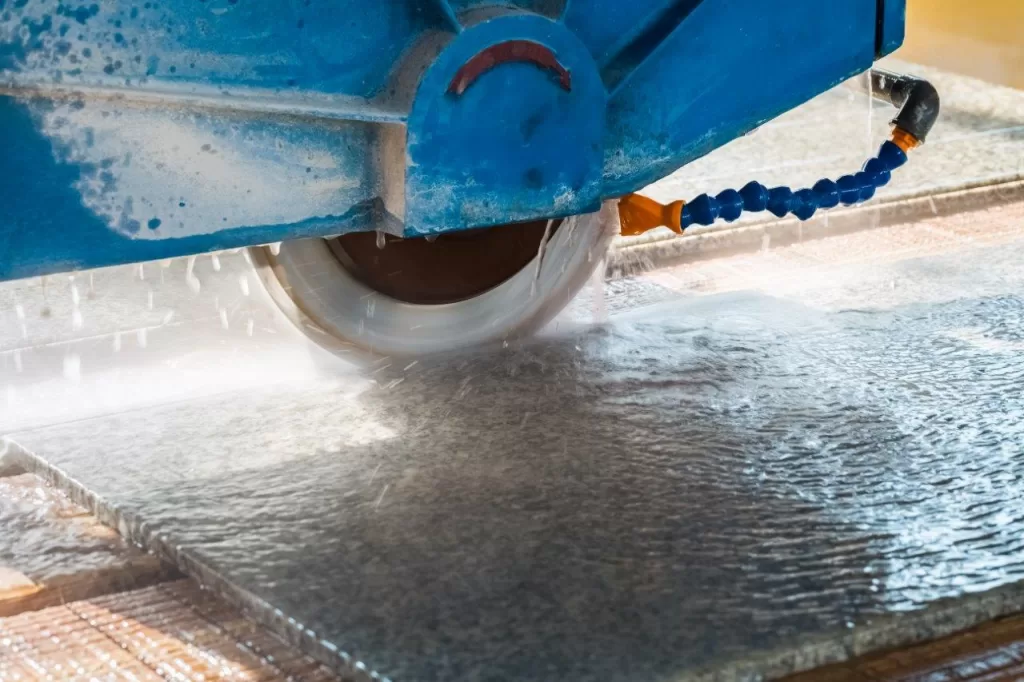
Fabrication time! This is where your countertop starts taking shape – quite literally. We cut, polish, and prepare it for its new home – your kitchen. This stage requires skill, precision, and a keen eye for detail.
Tip: Ask for a layout preview. This way, you get a sneak peek of how your countertops will look.
Trade Secret: Stay available but out of the way. Your presence is important, but the pros need space to work their magic.

Step 8: Installation Day
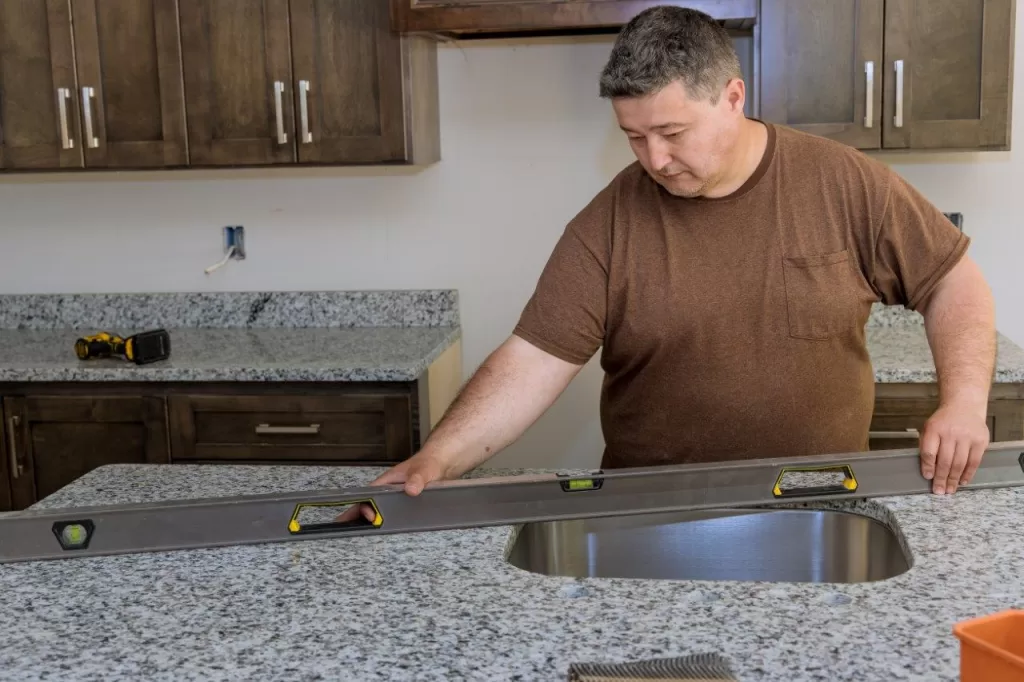
The big day! Installation is a symphony of coordination and expertise. We ensure everything fits like a glove – seams, edges, sink cutouts, the works.
Conclusion: And there you have it – the journey from a slab in the warehouse to a stunning countertop in your kitchen. Remember, a great countertop installation is a dance between precision, artistry, and practicality. Choose wisely, measure accurately, and trust the experts. Your kitchen is not just a room; it’s where memories are cooked up. So, keep it fun, stay involved, and get ready to fall in love with your kitchen all over again.


